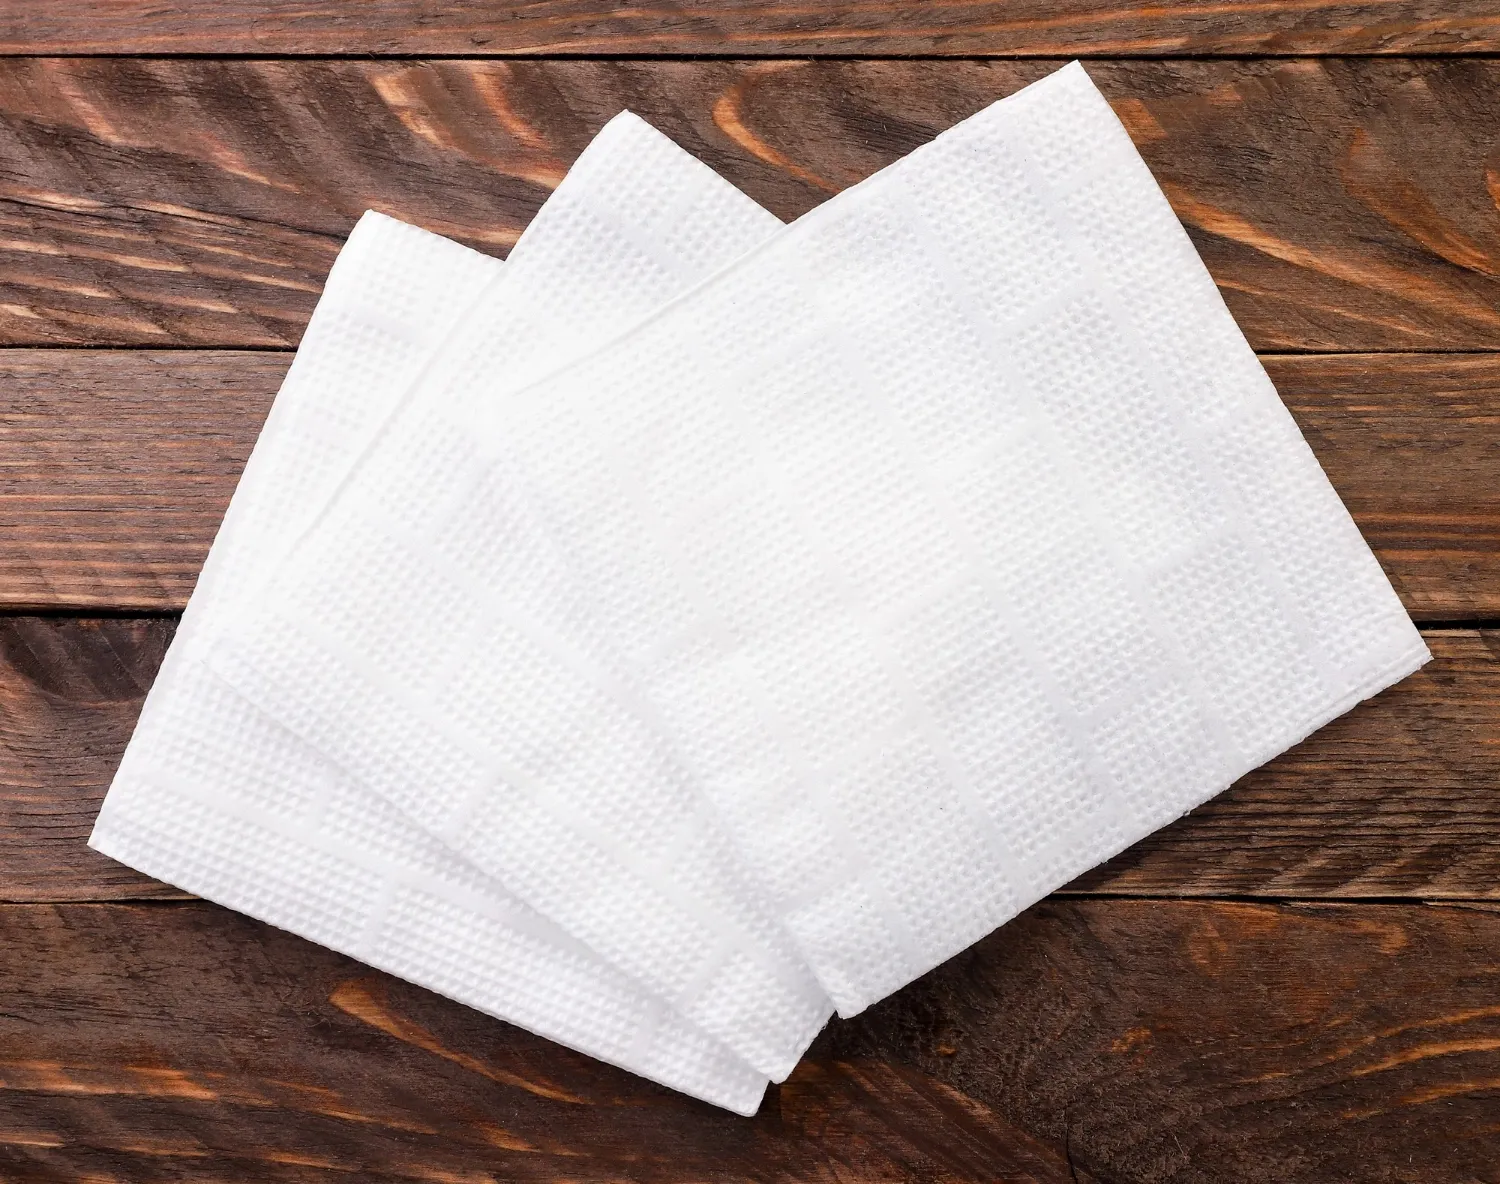
7 Basic Paper Napkin Folding Ideas
Something as simple as a napkin can significantly enhance your table presentation at a dinner party or family gathering. To achieve this, however, you should do more than simply place a napkin on each plate. The same goes for simple folds like a rectangle or a square.
Of course, no one expects you to turn your napkin into a full-fledged Thanksgiving turkey, either. But there are some folds that don’t require any “advanced” napkin-folding skills yet leave quite an impression on your guests. Check out these 7 basic paper napkin folding ideas and elevate your table décor in a few simple steps.

Napkin Folding 101: 7 Basic Paper Napkin Folding Ideas That Anyone Can Nail
These 7 basic paper napkin folding ideas have two things in common – they’re incredibly easy to make and look incredible. Just follow the step-by-step guides closely, and you’ll have a perfectly folded napkin in a matter of minutes.
No matter your chosen method, the bigger the paper napkin, the better. This way, you’ll have more room to play.
Method 1 – The Pocket
Classic. Refined. Simple. Those are the words that best describe the Pocket Fold. Here’s how to achieve this polished fold for your table décor:
- Lay the napkin flat.
- Fold it in half and turn its open end toward you.
- Fold the napkin into a square.
- Position the napkin with its open corner facing to the left.
- Fold the top layer diagonally and press it down firmly.
- Flip the napkin to face the open corner to the right.
- Fold the napkin’s right side one-third of the way and press it down.
- Repeat Step 7 for the left side.
- Flip the napkin over.
- Insert your tableware into the “pocket.”
Method 2 – The Envelope
The Envelop Fold sends a clear message to your guests – you’re in for a treat! Here’s what you need to do:
- Lay the napkin flat.
- Fold it in half to form a triangle.
- Position the triangle’s middle point up.
- Fold the left and right corners inward until they meet in the middle.
- Fold the bottom corner upward to create an envelope shape.
- Fold the top corner down to “close” the envelope or leave it open to display a placeholder or a menu.

Method 3 – The Cone
The Cone Fold is the perfect choice for hosts who like to go the extra mile when setting the table as it leaves room for additional decorations, such as a flower or herb. Here’s how to achieve this elegant fold:
- Lay the napkin flat.
- Fold it in half and turn the closed end toward you.
- Fold this new rectangle into a square.
- Turn the napkin into a diamond shape, with the open end facing away from you.
- Fold the top layer until it reaches the bottom corner and press it down flat.
- Turn the napkin over.
- Fold the left side of the napkin about two-thirds toward the right side.
- Repeat Step 7 with the right side.
- Flip the napkin over.
Method 4 – The Wrap
The Wrap Fold resembles the Cone but can also hold your cutlery. Plus, it can be further customized with a lovely ribbon. Here’s what you need to do:
- Lay the napkin flat, making a diamond shape.
- Place your cutlery toward the top, with around one-third free space at the bottom.
- Fold the bottom corner over the cutlery, leaving the tips visible.
- Fold the napkin’s left side over the cutlery.
- Repeat Step 4 for the right side.
- Tuck the edges under the napkin.
- Tie the bundle about halfway down with a decoration of your choosing.
Method 5 – The Three-Point Fold
The Three-Point Fold is among the simplest paper napkin folding ideas yet looks quite sophisticated. Follow these steps to achieve this minimalistic design:
- Lay the napkin flat.
- Fold it in half diagonally.
- Turn the napkin to ensure the middle point of the triangle faces down.
- Fold the right corner to the left, but leave some space between the triangle points.
- Repeat Step 4 with the “new” right angle to make the final fold into a necktie shape.

Method 6 – The Fan
The Fan Fold is an easy way to add a stylish touch to any event. Here’s how to achieve this decorative look:
- Lay the napkin flat.
- Fold it in half with the open side facing left.
- Starting at the bottom, create accordion pleats. Go about two-thirds toward the top.
- Fold the napkin in half, leaving the pleating on the outside left.
- Fold the top-right corner diagonally down to the base of the pleating.
- Place the napkin on the table and release the pleating to form a fan.
Method 7 – The Bouquet
The Bouquet Fold is arguably the easiest to make among these 7 basic paper napkin folding ideas. However, it also has the most personality. Here’s how to add this charming touch to your table décor:
- Take two napkins, ideally of different colors.
- Layer one napkin on the other, with the top one turned diagonally.
- Grab the two napkins in the center and pull them up.
- Flip them in your hands so that the open ends point up.
- Place the napkins in a glass.
- Fluff the open ends to achieve your desired effect.
How to Spruce Up Your Table Décor Further
Use any of these 7 basic paper napkin folding ideas, and your table will already look more inviting and appealing. But if you want to go the extra mile, make sure you also use personalized napkins.
With custom napkins, you get to choose everything, from the color scheme to the print. This allows you to create incredibly aesthetically pleasing décor while celebrating whatever occasion has brought your guests together.
Think of a design and order your custom napkins today to take the table décor for your next gathering to a whole new level.